차고를 정리하고 공간을 되찾기 위한 8가지 팁
Sure, our garages are one of the most used spaces in our homes, but they’re commonly the most cluttered and disorganised as well. And for many, the space has become such a significant dumping space that cars can no longer be parked in there.
As spring cleaning fever hits the Northern Hemisphere, we wanted to offer some helpful tips for taking back the space in your garage making it tidier, more functional and user friendly.
1. Be a man (or woman) with a plan
Set aside a weekend and have a clear goal of what tasks you want to accomplish over these two days. We suggest a simple check list, particularly if you are including multiple people in your clean up, to ensure that nothing gets over looked.
And for inspiration, make a playlist, listen to a ball game or a podcast you’ve been busting to get stuck into.
2. Move it outside
Anything that is not physically attached, should be moved out of the garage. As you’re migrating your stuff from inside to the outside, we suggest that you divide everything into four different sections or piles (but be sure to leave enough space for when you clean out your garage floor with your garden hose):
1. Trash – This is for garbage and items that you can recycle
2. Donate – Any pre-loved items that would find a second life in a new family
3. Clean/Repair – Items that found their way into the garage because they need a slight repair or a heavy duty clean before earning its spot back inside the house
4. Keep – All of the items that you’ll be keeping and storing in your new and improved garage
3. Wipe it, wipe it good
Now that the garage is empty, it needs to be thoroughly scrubbed before you can start the next steps. All flat surfaces, including shelving should be wiped clean of any dirt, dust and debris. This also includes cleaning any windows in your garage and it might be a good excuse for you to open that package of dust masks that you just found.
Following that, grab a broom and gently remove any spider webs and cobwebs that have accumulated in corners and on the walls.
Now that your walls and your surface areas are spic n span, it’s time to hit the floor. Mix up a bucket of biodegradable, grease cutting floor cleaner in a bucket and splash it on evenly on your floor, the starting from the back wall, use your garden hose to push the water out to the driveway.
5. Use it or lose it
Take a good hard look at your “Keep” pile and give it another edit. If you’ve got tennis rackets that have not been used since the iPhone 5, it’s probably time to say goodbye. And with the items you’re keeping, figure out if any of them are seasonal (skis, scuba gear, Christmas decorations, etc.) and ear mark those to be stored in less accessible storage areas.
6. Get in the zone
Because this space is going to be multi-purpose, we recommend zoning your “Keep” items into the same zoned areas. Tools and hardware stay together, seasonal decorations and clothing stay together and the same for sports equipment.
The real key to successful zoning, is properly and clearly labelling the outside of each storage box. If there are key items stored inside, be sure to include that on your label.
7. Go up the wall
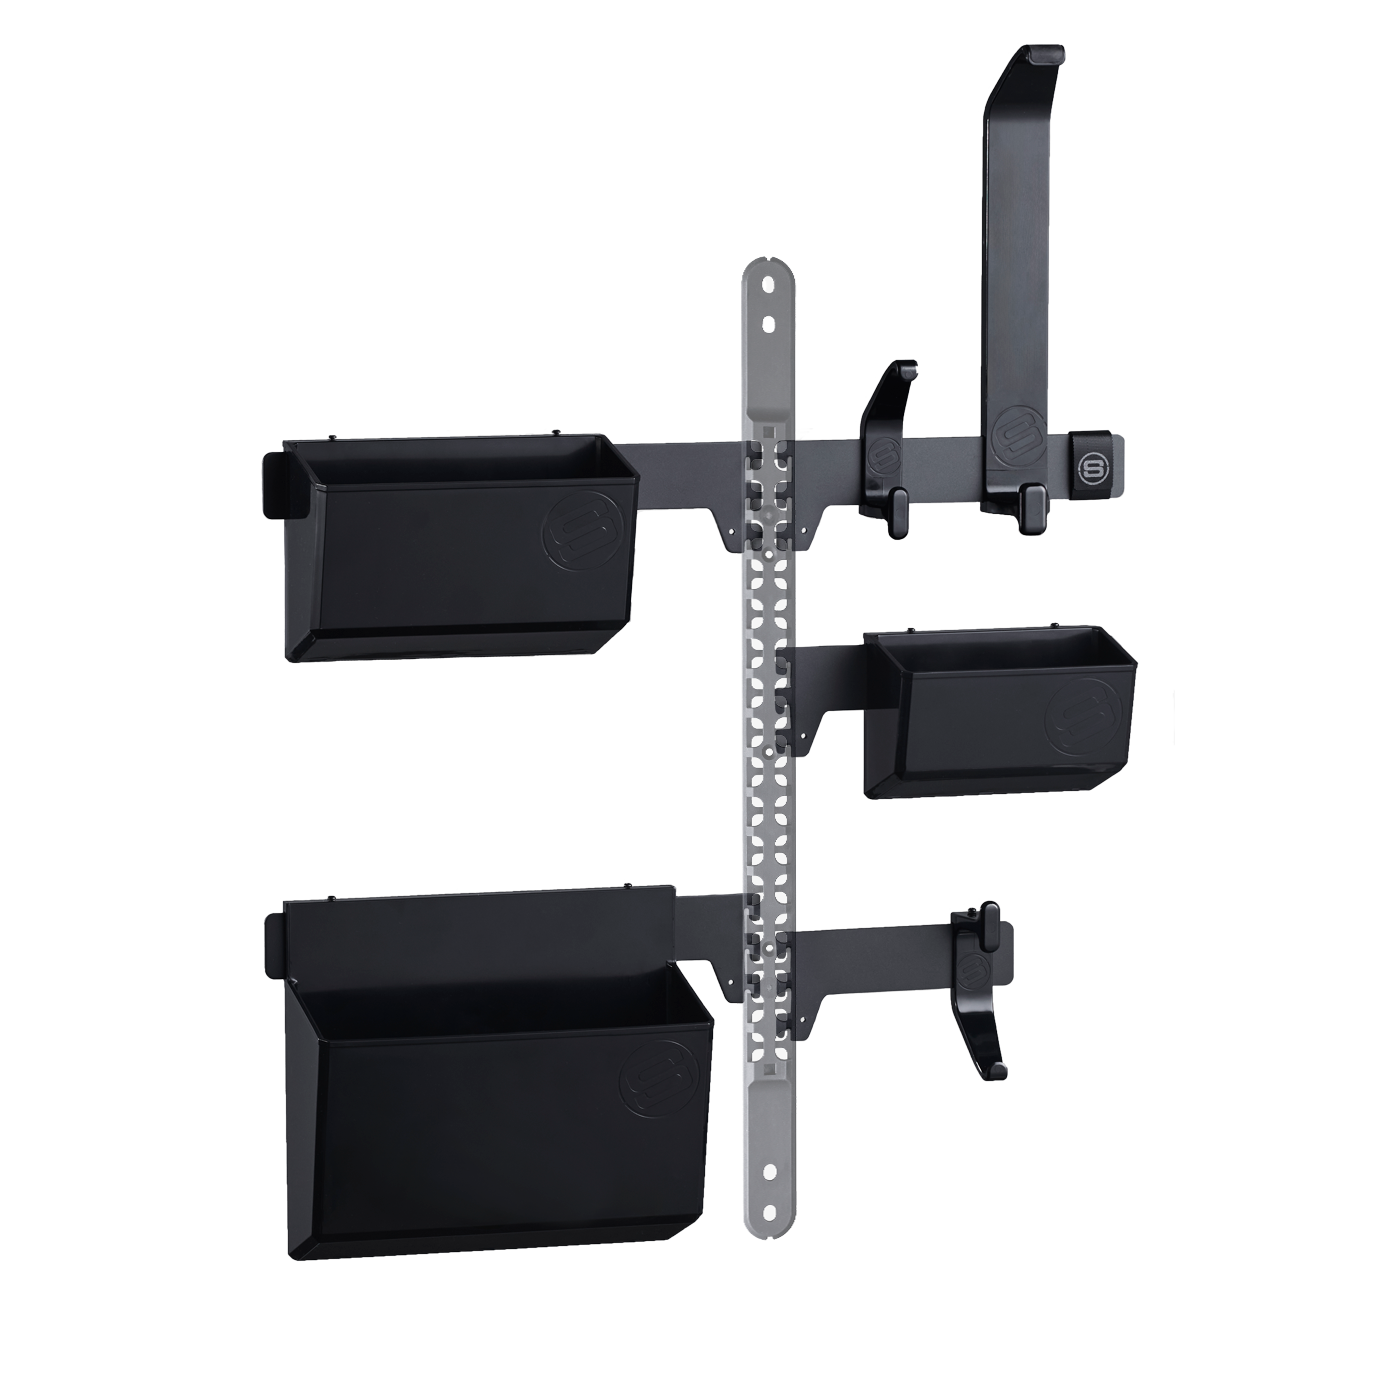
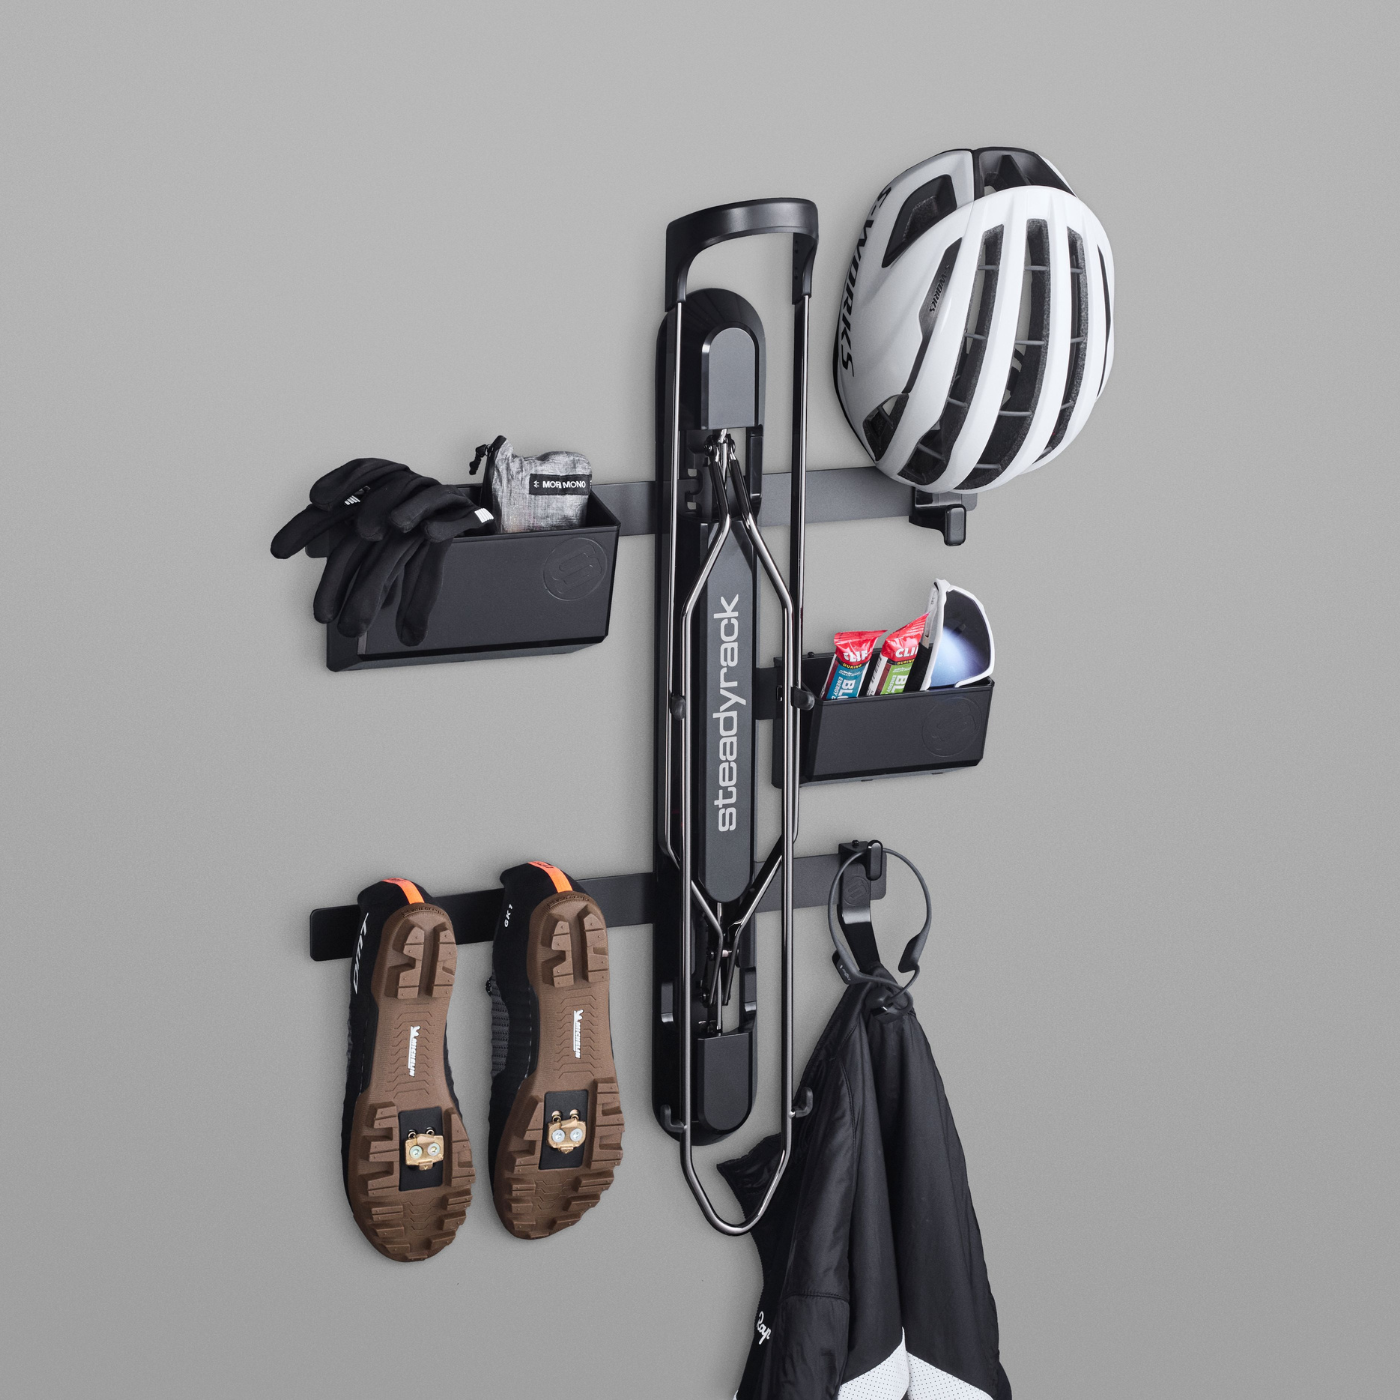
To further maximise your space, we encourage the use of vertical storage. For your boxes and for your family’s bikes. By storing your boxes in vertical shelves, they become easily accessible, off the floor and safe from any potential flooding or floor damage and you’re maximising your garage space.
Storing your bikes vertically, especially using a Steadyrack, will maximise the space in your garage by getting them off the floor, plus the patented 180 degree pivot, allow for them to be stored almost flush against the wall. This reduces the risk of injury and also helps to accommodate car parking in smaller areas.
For some examples of successful garage bike storage, click here.
8. Maintain
Now that you’ve got everything cleaned, organised, stored and you’ve got your garage space back, the work isn’t done. With everything in its proper place, it will be easy for you and your family to regularly maintain your newly updated garage and the extra time that you’ve saved by knowing where everything is. That’s more than enough time for a bike ride.


